在容器中运行 Elastic Agent
编辑在容器中运行 Elastic Agent编辑
您可以在容器内运行 Elastic Agent,可以使用 Fleet Server 或独立运行。所有版本的 Elastic Agent 的 Docker 镜像都可以在 Elastic Docker 注册表 中找到。如果您在 Kubernetes 中运行,请参阅 在 ECK 上运行 Elastic Agent。
注意事项
- 当 Elastic Agent 在容器内运行时,无法通过 Fleet 升级,因为它预期容器本身会升级。
- 注册和运行 Elastic Agent 通常是一个两步骤的过程。但是,这在容器中不起作用,因此会调用一个特殊的子命令
container。此命令允许环境变量配置所有属性,并将enroll和run命令作为单个命令运行。
您需要什么编辑
- 安装 Docker.
-
用于存储和搜索数据的 Elasticsearch,以及用于可视化和管理数据的 Kibana。
要快速入门,请启动我们 托管 Elasticsearch Service 的部署。Elasticsearch Service 在 AWS、GCP 和 Azure 上可用。免费试用。
要安装和运行 Elasticsearch 和 Kibana,请参阅 安装 Elastic Stack。
步骤 1:拉取镜像编辑
Elastic Agent 有两个镜像,elastic-agent 和 elastic-agent-complete。elastic-agent 镜像包含运行 Beats 的所有二进制文件,而 elastic-agent-complete 镜像包含这些二进制文件以及通过 Elastic Synthetics 运行浏览器监视器的其他依赖项。有关更多信息,请参阅 通过 Elastic Agent 和 Fleet 进行综合监控。
针对 Elastic Docker 注册表运行 docker pull 命令
docker pull docker.elastic.co/beats/elastic-agent:8.14.3
如果要运行 Synthetics 测试,请运行 docker pull 命令以获取 elastic-agent-complete 镜像
docker pull docker.elastic.co/beats/elastic-agent-complete:8.14.3
步骤 2:可选:验证镜像编辑
尽管这是可选的,但我们强烈建议验证下载的 Docker 镜像中包含的签名,以确保镜像有效。
Elastic 镜像使用 Cosign 签名,它是 Sigstore 项目的一部分。Cosign 支持在 OCI 注册表中进行容器签名、验证和存储。为您的操作系统安装合适的 Cosign 应用程序。
运行以下命令以验证 Elastic Agent v8.14.3 的 elastic-agent 容器镜像签名
wget https://artifacts.elastic.co/cosign.pub
cosign verify --key cosign.pub docker.elastic.co/beats/elastic-agent:8.14.3
如果您使用的是 elastic-agent-complete 镜像,请按如下方式运行命令
wget https://artifacts.elastic.co/cosign.pub
cosign verify --key cosign.pub docker.elastic.co/beats/elastic-agent-complete:8.14.3
该命令将以 JSON 格式打印检查结果和签名负载,例如
Verification for docker.elastic.co/beats/elastic-agent-complete:8.14.3 --
The following checks were performed on each of these signatures:
  - The cosign claims were validated
  - Existence of the claims in the transparency log was verified offline
  - The signatures were verified against the specified public key
步骤 3:了解 Elastic Agent 容器命令编辑
Elastic Agent 容器命令提供了各种选项。要查看完整列表,请运行
docker run --rm docker.elastic.co/beats/elastic-agent:8.14.3 elastic-agent container -h
步骤 4:运行 Elastic Agent 镜像编辑
docker run \
  --env FLEET_ENROLL=1 \
  --env FLEET_URL=<fleet-server-host-url> \
  --env FLEET_ENROLLMENT_TOKEN=<enrollment-token> \
  --rm docker.elastic.co/beats/elastic-agent:8.14.3
|
设置为 1 以将 Elastic Agent 注册到 Fleet Server。 |
|
|
用于注册 Fleet Server 的 URL。您可以在 Kibana 中找到它。选择 管理 → Fleet → Fleet 设置,然后复制 Fleet Server 主机 URL。 |
|
|
用于注册的令牌。关闭弹出面板,然后选择 注册令牌。找到要将 Elastic Agent 注册到的代理策略,然后显示并复制密钥令牌。要了解如何创建策略,请参阅 在不使用 UI 的情况下创建代理策略。 |
|
|
如果要运行 elastic-agent-complete 镜像,请将 |
有关所有可用选项,请参阅 环境变量。
如果您正在运行自管集群并希望运行自己的 Fleet Server,请运行以下命令,该命令将在容器中同时启动 Elastic Agent 和 Fleet Server
docker run \
  --env FLEET_SERVER_ENABLE=true \
  --env FLEET_SERVER_ELASTICSEARCH_HOST=<elasticsearch-host> \
  --env FLEET_SERVER_SERVICE_TOKEN=<service-token> \
  --env FLEET_SERVER_POLICY_ID=<fleet-server-policy> \
  -p 8220:8220 \
  --rm docker.elastic.co/beats/elastic-agent:8.14.3
|
设置为 1 以在此 Elastic Agent 上引导 Fleet Server。 |
|
|
您的集群的 Elasticsearch 主机 URL。 |
|
|
Fleet 服务令牌。如果您还没有,请在 Fleet UI 中生成一个。 |
|
|
Fleet Server 策略的 ID。我们建议只使用一个 fleet-server 策略。要了解如何创建策略,请参阅 在不使用 UI 的情况下创建代理策略。 |
|
|
将容器端口 8220 发布到主机。 |
|
|
如果要运行 elastic-agent-complete 镜像,请将 |
有关所有可用选项,请参阅 环境变量。
步骤 5:在 Kibana 中查看您的数据编辑
-
启动 Kibana
- 登录 您的 Elastic Cloud 帐户。
- 导航到您部署中的 Kibana 端点。
将您的浏览器指向 https://127.0.0.1:5601,将
localhost替换为 Kibana 主机的名称。 -
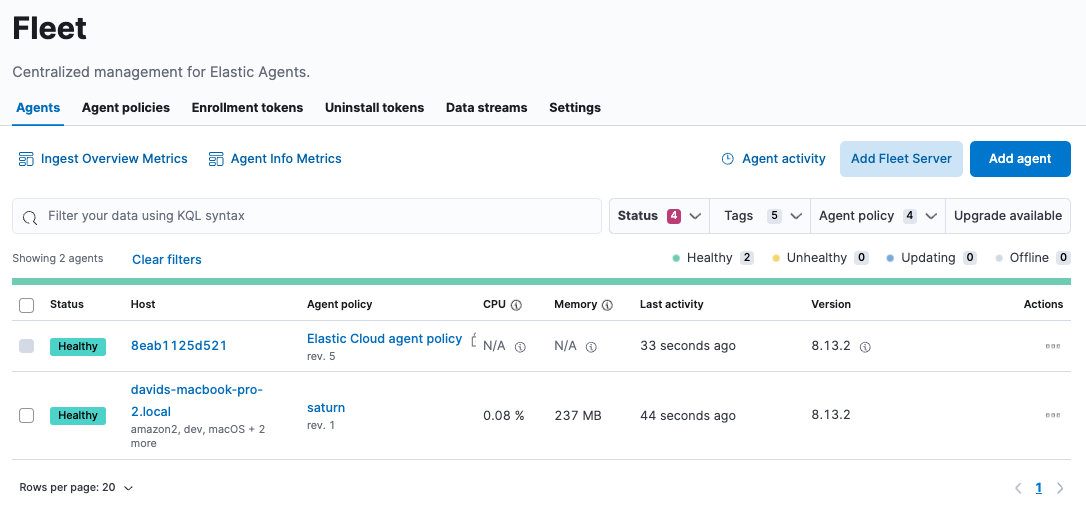
要检查您的 Elastic Agent 是否已注册到 Fleet,请转到 管理 → Fleet → 代理。

- 要查看流入的数据,请转到 分析 → Discover 并选择索引
metrics-*,或者更具体的,metrics-kubernetes.*。如果您看不到这些索引,请为它们 创建数据视图。 - 要查看预定义的仪表板,请选择 分析→仪表板 或 通过集成安装资产。
Docker Compose编辑
您可以在 docker-compose 中运行 Elastic Agent。下面的示例显示了如何注册 Elastic Agent
version: "3"
services:
  elastic-agent:
    image: docker.elastic.co/beats/elastic-agent:8.14.3
    container_name: elastic-agent
    restart: always
    user: root # note, synthetic browser monitors require this set to `elastic-agent`
    environment:
      - FLEET_ENROLLMENT_TOKEN=<enrollment-token>
      - FLEET_ENROLL=1
      - FLEET_URL=<fleet-server-url>
|
如果您打算使用完整版本,请将 |
如果还需要运行 Fleet Server,请通过添加以下环境变量来调整上面的 docker-compose 文件
      - FLEET_SERVER_ENABLE=true
      - FLEET_SERVER_ELASTICSEARCH_HOST=<elasticsearch-host>
      - FLEET_SERVER_SERVICE_TOKEN=<service-token>
有关所有可用选项,请参阅 环境变量。
日志编辑
由于容器仅支持单个版本的 Elastic Agent,因此日志和状态的存储方式与在容器外运行 Elastic Agent 时略有不同。日志位于:/usr/share/elastic-agent/state/data/logs/*。
请务必注意,只有来自 Elastic Agent 进程本身的日志才会记录到 stdout。子进程日志不会。每个子进程将其自己的日志写入日志目录中 default 目录内
/usr/share/elastic-agent/state/data/logs/default/*
在使用 Fleet Server 时遇到错误?查看 fleet-server 子进程日志以获取更多信息。
调试编辑
可以启用监控端点来公开资源使用情况和事件处理数据。该端点与以 Fleet 模式和 Standalone 模式运行的 Elastic Agent 兼容。
在安装 Elastic Agent 的主机上的 elastic-agent.yml 中启用监控端点。示例配置如下所示
agent.monitoring:
  enabled: true
  logs: true
  metrics: true
  http:
      enabled: true
      host: localhost
      port: 6791
|
启用正在运行的进程的监控。 |
|
|
启用日志监控。 |
|
|
启用指标监控。 |
|
|
通过 HTTP 公开 Elastic Agent 指标。默认情况下,使用套接字和命名管道。 |
|
|
HTTP 端点将绑定到的主机名、IP 地址、Unix 套接字或命名管道。使用 IP 地址时,建议仅使用 |
|
|
HTTP 端点将绑定到的端口。 |
上述配置会在 https://127.0.0.1:6791/processes 公开一个监控端点。
https://127.0.0.1:6791/processes 输出
{
   "processes":[
      {
         "id":"metricbeat-default",
         "pid":"36923",
         "binary":"metricbeat",
         "source":{
            "kind":"configured",
            "outputs":[
               "default"
            ]
         }
      },
      {
         "id":"filebeat-default-monitoring",
         "pid":"36924",
         "binary":"filebeat",
         "source":{
            "kind":"internal",
            "outputs":[
               "default"
            ]
         }
      },
      {
         "id":"metricbeat-default-monitoring",
         "pid":"36925",
         "binary":"metricbeat",
         "source":{
            "kind":"internal",
            "outputs":[
               "default"
            ]
         }
      }
   ]
}
可以访问 /processes 输出中的每个进程 ID 以获取更多详细信息。
https://127.0.0.1:6791/processes/{process-name} 输出
{
   "beat":{
      "cpu":{
         "system":{
            "ticks":537,
            "time":{
               "ms":537
            }
         },
         "total":{
            "ticks":795,
            "time":{
               "ms":796
            },
            "value":795
         },
         "user":{
            "ticks":258,
            "time":{
               "ms":259
            }
         }
      },
      "info":{
         "ephemeral_id":"eb7e8025-7496-403f-9f9a-42b20439c737",
         "uptime":{
            "ms":75332
         },
         "version":"7.14.0"
      },
      "memstats":{
         "gc_next":23920624,
         "memory_alloc":20046048,
         "memory_sys":76104712,
         "memory_total":60823368,
         "rss":83165184
      },
      "runtime":{
         "goroutines":58
      }
   },
   "libbeat":{
      "config":{
         "module":{
            "running":4,
            "starts":4,
            "stops":0
         },
         "reloads":1,
         "scans":1
      },
      "output":{
         "events":{
            "acked":0,
            "active":0,
            "batches":0,
            "dropped":0,
            "duplicates":0,
            "failed":0,
            "toomany":0,
            "total":0
         },
         "read":{
            "bytes":0,
            "errors":0
         },
         "type":"elasticsearch",
         "write":{
            "bytes":0,
            "errors":0
         }
      },
      "pipeline":{
         "clients":4,
         "events":{
            "active":231,
            "dropped":0,
            "failed":0,
            "filtered":0,
            "published":231,
            "retry":112,
            "total":231
         },
         "queue":{
            "acked":0,
            "max_events":4096
         }
      }
   },
   "metricbeat":{
      "system":{
         "cpu":{
            "events":8,
            "failures":0,
            "success":8
         },
         "filesystem":{
            "events":80,
            "failures":0,
            "success":80
         },
         "memory":{
            "events":8,
            "failures":0,
            "success":8
         },
         "network":{
            "events":135,
            "failures":0,
            "success":135
         }
      }
   },
   "system":{
      "cpu":{
         "cores":8
      },
      "load":{
         "1":2.5957,
         "15":5.415,
         "5":3.5815,
         "norm":{
            "1":0.3245,
            "15":0.6769,
            "5":0.4477
         }
      }
   }
}